Mom's currently costuming a local production of White Christmas at Newtown Arts and tells me there's where a guy puts on a sleigh bell belt made for a horse and dances around for some reason. For ease of use, she asked me to make this like it was just a regular belt, although it's very long because he wears it over one shoulder and across his chest. This is a 1-1/2x48" veg tan strap with a nickel buckle and linen cord, all from Crazy Crow, finished with Fiebings pro dye, Resolene and olive oil (so it won't smell bad like neatsfoot oil). The stitching holding the buckle fold is based on a belt I bought from a thrift store, although I don't know how they hid the knots (I tucked the ends back into the needle and pulled it through the fold). The bells are from Michaels. In order to not chafe the costume, instead of being fixed with curled brass pins the classic way, the bells are tied on through pairs of small holes with some leftover hemp cord that I had hand-waxed with a block of beeswax when making my small bowcase for Plataea 2022.
Showing posts with label costume. Show all posts
Sunday, October 27, 2024
Saturday, July 7, 2018
A pewter lapel pin II
A remake of a pin I created last December. Just last week, I came across several pages which cleared up the real-world identity of this emblem and provided some better views of how it should be proportioned.
In comparing my first pin and subsequently the one in the film's promotional photos with the actual Soviet ones, I noticed several discrepancies which, unlike the frontwise proportions, can't be put down to the odd camera angle. First, the one in the film clearly has the hammer's handle protruding out the top of its head; second, the angled ends of the wrench's jaws are pointing the wrong way; and third, it appears to be much too thick - likely cast, while the originals look to me to have been stamped.
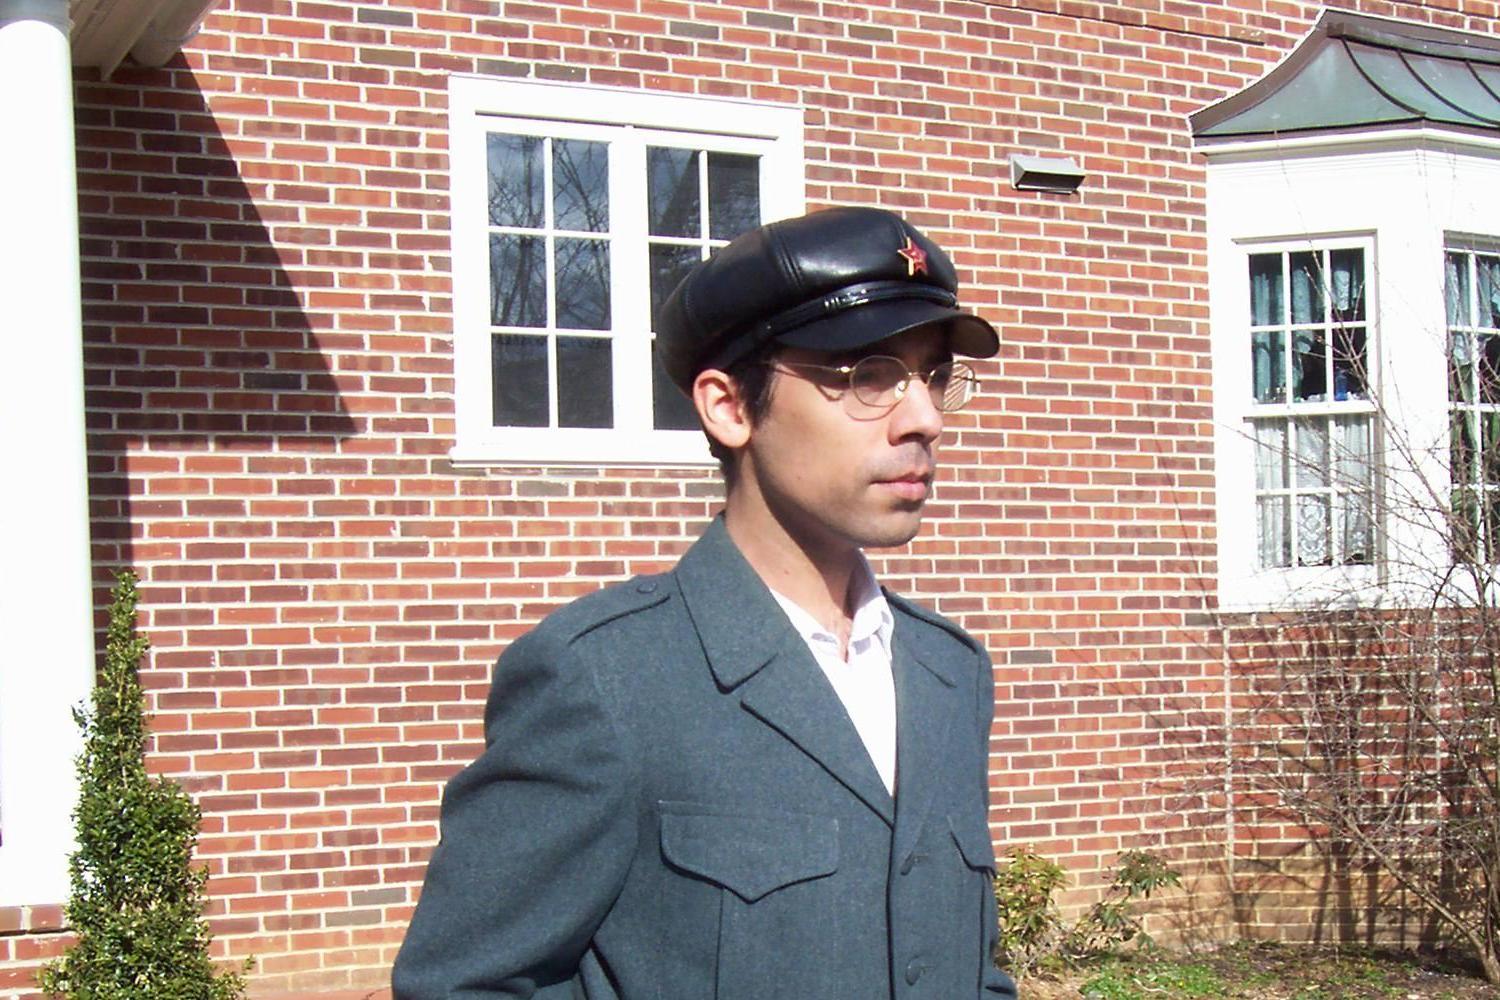
Another source of cognitive dissonance is the fact that in the movie, Courtenay wears the emblem in what is supposed to be 1913, forty years before it seems to have been made part of the official Soviet railway uniform, and five years before the Bolsheviks even took power in Russia. In the book, Pasha Antipov's father was a railway worker, and I take it that the same is supposed to be true of Pasha in the film, although I can't recall whether he mentions it (in the book he's a schoolteacher). The cap he wears strongly resembles a Soviet railway staffer's cap from the 1955-63 period, shortly before the film was made, but it's missing its chin cord and has a number of other minor differences from those shown at Under the Red Star.
I have yet to discover whether a version of the hammer and monkey wrench symbol was used prior to the Revolution. But my theory is that the film's costume department simply produced a crude replica of a near-contemporary Soviet railway badge and cap.
In creating a new version of the pin, I incorporated the oddities of the film version while correcting the mistakes of my first attempt and being careful to avoid the mass of flash that my first pin had around the hammer's head. Otherwise, the process was almost exactly the same, except that I sunk a piece of heavy paper clip into the pewter running down the hammer's handle to strengthen it.
I also let the plaster sit longer before prying the wax out, in the hopes of not damaging the plaster. In hindsight, I should've let it sit until it was cold, because the heat of the plaster as it cured softened the wax and made it more difficult to extract.
Like the first time around, I had to do a lot of cleanup with files, and there's still some more left. The bevels on the wrench jaws should be at a shallower angle and some of the meat between the jaws still needs to be ground out. I had no hope of recreating the threading there, but I don't think the movie version did either.
I managed one other improvement this time around: Rather than polishing with a wire Dremel brush, I rubbed the surfaces with a fine file and then burnished them with the round back of a steel nail scissor handle. Since the solder/pewter is much softer than steel, this resulted in a near mirror finish.
In comparing my first pin and subsequently the one in the film's promotional photos with the actual Soviet ones, I noticed several discrepancies which, unlike the frontwise proportions, can't be put down to the odd camera angle. First, the one in the film clearly has the hammer's handle protruding out the top of its head; second, the angled ends of the wrench's jaws are pointing the wrong way; and third, it appears to be much too thick - likely cast, while the originals look to me to have been stamped.
Another source of cognitive dissonance is the fact that in the movie, Courtenay wears the emblem in what is supposed to be 1913, forty years before it seems to have been made part of the official Soviet railway uniform, and five years before the Bolsheviks even took power in Russia. In the book, Pasha Antipov's father was a railway worker, and I take it that the same is supposed to be true of Pasha in the film, although I can't recall whether he mentions it (in the book he's a schoolteacher). The cap he wears strongly resembles a Soviet railway staffer's cap from the 1955-63 period, shortly before the film was made, but it's missing its chin cord and has a number of other minor differences from those shown at Under the Red Star.
I have yet to discover whether a version of the hammer and monkey wrench symbol was used prior to the Revolution. But my theory is that the film's costume department simply produced a crude replica of a near-contemporary Soviet railway badge and cap.
In creating a new version of the pin, I incorporated the oddities of the film version while correcting the mistakes of my first attempt and being careful to avoid the mass of flash that my first pin had around the hammer's head. Otherwise, the process was almost exactly the same, except that I sunk a piece of heavy paper clip into the pewter running down the hammer's handle to strengthen it.
I also let the plaster sit longer before prying the wax out, in the hopes of not damaging the plaster. In hindsight, I should've let it sit until it was cold, because the heat of the plaster as it cured softened the wax and made it more difficult to extract.
Like the first time around, I had to do a lot of cleanup with files, and there's still some more left. The bevels on the wrench jaws should be at a shallower angle and some of the meat between the jaws still needs to be ground out. I had no hope of recreating the threading there, but I don't think the movie version did either.
I managed one other improvement this time around: Rather than polishing with a wire Dremel brush, I rubbed the surfaces with a fine file and then burnished them with the round back of a steel nail scissor handle. Since the solder/pewter is much softer than steel, this resulted in a near mirror finish.
Friday, March 16, 2018
Wednesday, December 20, 2017
A pewter lapel pin
I've been mulling over this as part of a Halloween costume since I finished reading Doctor Zhivago a few months ago. Early on in the 1965 film version, Pasha Antipov (Tom Courtenay) wears an unusual pin on his hat, a crossed hammer and monkey wrench, during his not-Bolshevik labor movement activities. I've so far failed to figure out what organization this emblem belonged to, if indeed it was a real emblem (it's been so long since I've seen the film that I can't remember if it's explained onscreen), but a closeup publicity photo (inset) gave me a degree of detail which I attempted to copy.
I made the copy in wax, piecing it together and trying to keep its profile in proportion to the film version, but deeper from front to back for strength, with no undercuts. Then I dabbed thin plaster into its front face and placed it face-down in the cutoff lower quarter of a plastic cup full of plaster to make an open-topped mold. Once the wax was hard but still felt a bit damp, I peeled the wax out. Two days later, I put the mold in a low toaster oven for an hour and a half to try to drive out any remaining moisture, and three days after that I figured it was time for casting.
I intended to use lead-free pewter, of which I had a small amount left over from making an akinakes chape for Marathon 2011. But I couldn't find it in my house, even though I swear I saw it not long ago. With no other option, I picked up some low-temperature solder at a hardware store - this is a lead-free, silver-bearing alloy, but it still had a low melting point of 430 degrees Fahrenheit. It wouldn't surprise me if the one used in filming was a cheap white metal as well, though it could have been brass - it looks silvery to me in color screenshots, but as I well know, photography doesn't always accurately reflect actual colors.
Next I made a small pot for the actual melting and pouring of metal. This is a 1-1/2 inch copper end cap, annealed and with a spout beaten in by means of placing the cap partly over a cross-peen hammer and smashing it into a block of wood. Then I drilled a hole in the back and in the end of a piece of thick brass strip, and attached them with a copper rivet peened on the outside, over an anvil horn at Bucks' metal room. Since the brass handle still conducts heat, it has to be handled with thick insulating gloves or a pair of pliers. The pot may be heated on a stovetop or over a gas flame, which is what I did here, balancing it between two firebricks.
On my first attempt, I put way too much solder in the mold, giving it a large blobby back. Attempting to scrape off the excess damaged the rapidly-cooling casting. The mold broke on the first casting - perhaps it was still too damp; my foundry professor tells me that investment for jewelry is usually baked for around a whole day. Or perhaps it couldn't withstand the heat even when dry, or my first attempt at divestment was what cracked it. In any case, it was clear that I needed to try again, so I shoved the broken casting back in, held the mold together by wedging it between a pair of firebricks, and remelted with the gas torch.
Possibly as a result of the damaged mold, there's a lot of flashing below the hammer's head, which, as you can see, detracts from the striking appearance of the crossed tools. I could probably file it out, but it would take a long time, and I think that the hammer's skinny neck, supporting the relatively massive head, would be prone to breaking without the flashing to strengthen it. Also, obviously the threaded middle of the wrench isn't as finely threaded or clear in detail as in the film version - the former being the fault of my original wax (it's not easy to cram such fine detail into a wax model) and the latter either because of me failing to work the plaster between the grooves as thoroughly as necessary or because the solder failed to flow into every crevice.
The proportions are slightly off, but I think adequate for a homemade costume - of course if this were professional work, then I would want it to be truer to the film version. The apparent bend of the hammer's neck over the wrench isn't nearly as noticeable in person; I think it may be largely a result of the lighting here. White metal is difficult to photograph under bright sunlight, as it glares a lot, obscuring details, so I waited until I had time to take photos when it was cloudy out. The pin was actually finished last Friday.
With the poured solder sitting in the mold, I blasted the torch over it to make sure it was still liquid, then put a common jewelry pin in the back and tried to drag some solder on top of it with the tip of a piece of thin steel rod. As a result, the back is pretty rough in texture. It's probably not a very secure attachment, but as the uses this pin is going to be put through are not high-stress, it should be good enough.
I tried to clean up some of the flashing and smooth the surfaces with a fine file, then buffed the entire front with a carbon steel Dremel brush.
I made the copy in wax, piecing it together and trying to keep its profile in proportion to the film version, but deeper from front to back for strength, with no undercuts. Then I dabbed thin plaster into its front face and placed it face-down in the cutoff lower quarter of a plastic cup full of plaster to make an open-topped mold. Once the wax was hard but still felt a bit damp, I peeled the wax out. Two days later, I put the mold in a low toaster oven for an hour and a half to try to drive out any remaining moisture, and three days after that I figured it was time for casting.
I intended to use lead-free pewter, of which I had a small amount left over from making an akinakes chape for Marathon 2011. But I couldn't find it in my house, even though I swear I saw it not long ago. With no other option, I picked up some low-temperature solder at a hardware store - this is a lead-free, silver-bearing alloy, but it still had a low melting point of 430 degrees Fahrenheit. It wouldn't surprise me if the one used in filming was a cheap white metal as well, though it could have been brass - it looks silvery to me in color screenshots, but as I well know, photography doesn't always accurately reflect actual colors.
Next I made a small pot for the actual melting and pouring of metal. This is a 1-1/2 inch copper end cap, annealed and with a spout beaten in by means of placing the cap partly over a cross-peen hammer and smashing it into a block of wood. Then I drilled a hole in the back and in the end of a piece of thick brass strip, and attached them with a copper rivet peened on the outside, over an anvil horn at Bucks' metal room. Since the brass handle still conducts heat, it has to be handled with thick insulating gloves or a pair of pliers. The pot may be heated on a stovetop or over a gas flame, which is what I did here, balancing it between two firebricks.
On my first attempt, I put way too much solder in the mold, giving it a large blobby back. Attempting to scrape off the excess damaged the rapidly-cooling casting. The mold broke on the first casting - perhaps it was still too damp; my foundry professor tells me that investment for jewelry is usually baked for around a whole day. Or perhaps it couldn't withstand the heat even when dry, or my first attempt at divestment was what cracked it. In any case, it was clear that I needed to try again, so I shoved the broken casting back in, held the mold together by wedging it between a pair of firebricks, and remelted with the gas torch.
Possibly as a result of the damaged mold, there's a lot of flashing below the hammer's head, which, as you can see, detracts from the striking appearance of the crossed tools. I could probably file it out, but it would take a long time, and I think that the hammer's skinny neck, supporting the relatively massive head, would be prone to breaking without the flashing to strengthen it. Also, obviously the threaded middle of the wrench isn't as finely threaded or clear in detail as in the film version - the former being the fault of my original wax (it's not easy to cram such fine detail into a wax model) and the latter either because of me failing to work the plaster between the grooves as thoroughly as necessary or because the solder failed to flow into every crevice.
The proportions are slightly off, but I think adequate for a homemade costume - of course if this were professional work, then I would want it to be truer to the film version. The apparent bend of the hammer's neck over the wrench isn't nearly as noticeable in person; I think it may be largely a result of the lighting here. White metal is difficult to photograph under bright sunlight, as it glares a lot, obscuring details, so I waited until I had time to take photos when it was cloudy out. The pin was actually finished last Friday.
With the poured solder sitting in the mold, I blasted the torch over it to make sure it was still liquid, then put a common jewelry pin in the back and tried to drag some solder on top of it with the tip of a piece of thin steel rod. As a result, the back is pretty rough in texture. It's probably not a very secure attachment, but as the uses this pin is going to be put through are not high-stress, it should be good enough.
I tried to clean up some of the flashing and smooth the surfaces with a fine file, then buffed the entire front with a carbon steel Dremel brush.
Subscribe to:
Posts (Atom)